
Learning Hugo
I wanted to learn how to use the Hugo framework. The purpose of this guide, is to document my thought process and have a step by step guide to help me with future Hugo theme creations. If you have ever had to maintain a “dynamic” web application that is accessible by the public. You will know what security nightmare it becomes and the amount of time it takes to maintain it. Frameworks such as Wordpress has haunted me for years as it is like a flame that attracts endless moths of malicious actors having a field day constantly probing and prodding your the site and server. I have always preferred to have “Static” based websites, and seeing the power of frameworks such as Hugo and Jekyll. It is about time I jump in and learn how to use them.
I usually just develop my sites from scratch, but being able to have a “blog” like function where I can keep my focus on creating articles and content in general and have Hugo generate the pages for me, saving me time and having almost no stress in worrying plugin security all the time.
Purpose of this guide.
I will only be going thought learning how the layouts and basic content of a Hugo theme works. This guide will not be an html tutorial. I just wanted to see how to quickly get a basic theme started and will not be worrying about how the final design will look or even add and “responsive” development yet. I want to first understand the structure of a theme and how Hugo deals with the “content” of the site.
I will go into more depth in future guides and eventually end up using the theme I make as my main theme for this website. However for now I will be using the beautiful - Stack https://github.com/CaiJimmy/hugo-theme-stack theme for this site but will move to my own theme once I am comfortable with my own theme.
Installation and Initialisation
Install Hugo https://gohugo.io/getting-started/quick-start/
Create a folder on where you would like to create your project.
Using your favourite terminal
cdinto that folder.Initialise a new site with the following command
hugo new site hugo
cd hugo
git init
We will now create a blank theme to start with:
hugo new theme themeNamechange
themeNameto what you would like to call your theme. In my case it will be calledjonomossOpen the project with your favourite IDE:
We now need to tell Hugo to use this theme to render the pages:
- edit the top most
hugo.tomlfile with the following and remove all the other lines:theme = "themeName" - Your
hugo.tomlfile will look like this:theme = "jonomoss"
- edit the top most
run it:
hugo server -DYou can now goto http://localhost:1313/ in your favourite browser and you will see a barebones website.
A Quick Overview of The Theme Structure
We will be focusing on the folders in the theme folder from now on. In my case it is the following folder:
hugo/themes/jonomoss/The
layouts/folder contains all the common html files that will be the main layout of all generated pages. Think of this as the main building blocks of your site.The
layouts/partials/have all the modular parts of a website. So for example it has thefooter, header, menuand other components to use in giving your pages structure.The
layouts/_default/are the main “Wrapper / Containers” that will tie the desired components from thelayouts/partials/egfooter, header, menuto build the desired full page for the sites content to be displayed on. For example if we want to display asinglepage or thehomepage.The
assets/folder is where all the assets needed for the theme will be stored. This is thecss, js, imagesetc.The
static/folder is where all the public files that will be copied to the public directory eg.htaccess, favicon.ico, robots.txtwill be stored.
This is just a quick overview of the main folders that we will use and work on to create our own theme. For a full explanation of the entire folder and file structure, see https://gohugo.io/getting-started/directory-structure/
Design
- For the purpose of this guide, we will create a very basic three column website.
- The Header will be a fixed column on the left
- The content will be in the middle.
- the last column will have a search bar, tags and categories.
I find that to be a good structure for blog style websites
- I won’t go too deep into the html code as this is not a guide on html development, but rather an overview of where to put the pieces of code to create a theme.
Development
- We will start by setting some global styles in the stylesheet. Hugo does support
scssbut personally I prefer to stick with plaincss. Open themain.cssfile in theassets/cssfolder. These are the basic global styles we will use for this example.
:root {
  --bg-color: #f5f5fa;
  --main-text-colour: #333333;
  --global-font: 'Franklin Gothic Medium', 'Arial Narrow', Arial, sans-serif;
  --content-max-width: 1200px;
}

/* Global Styles and Layout*/

html, body {
  margin: 0;
  padding: 0;
  width: 100%;
  height: 100%;
  font-family: var(--global-font);
}

body {
  background-color: var(--bg-color);
}

#container {
  display: flex;
  flex-direction: row;
  margin: auto;
  max-width: var(--content-max-width);
  height: 100%;
}

a {
  text-decoration: none;
}

header {
  width: 260px;
  display: flex;
  flex-direction: column;
  margin: 0 20px;
}

aside {
  width: 300px;
}

footer {
  width: 100%;
}
You will end up with a basic three column site.
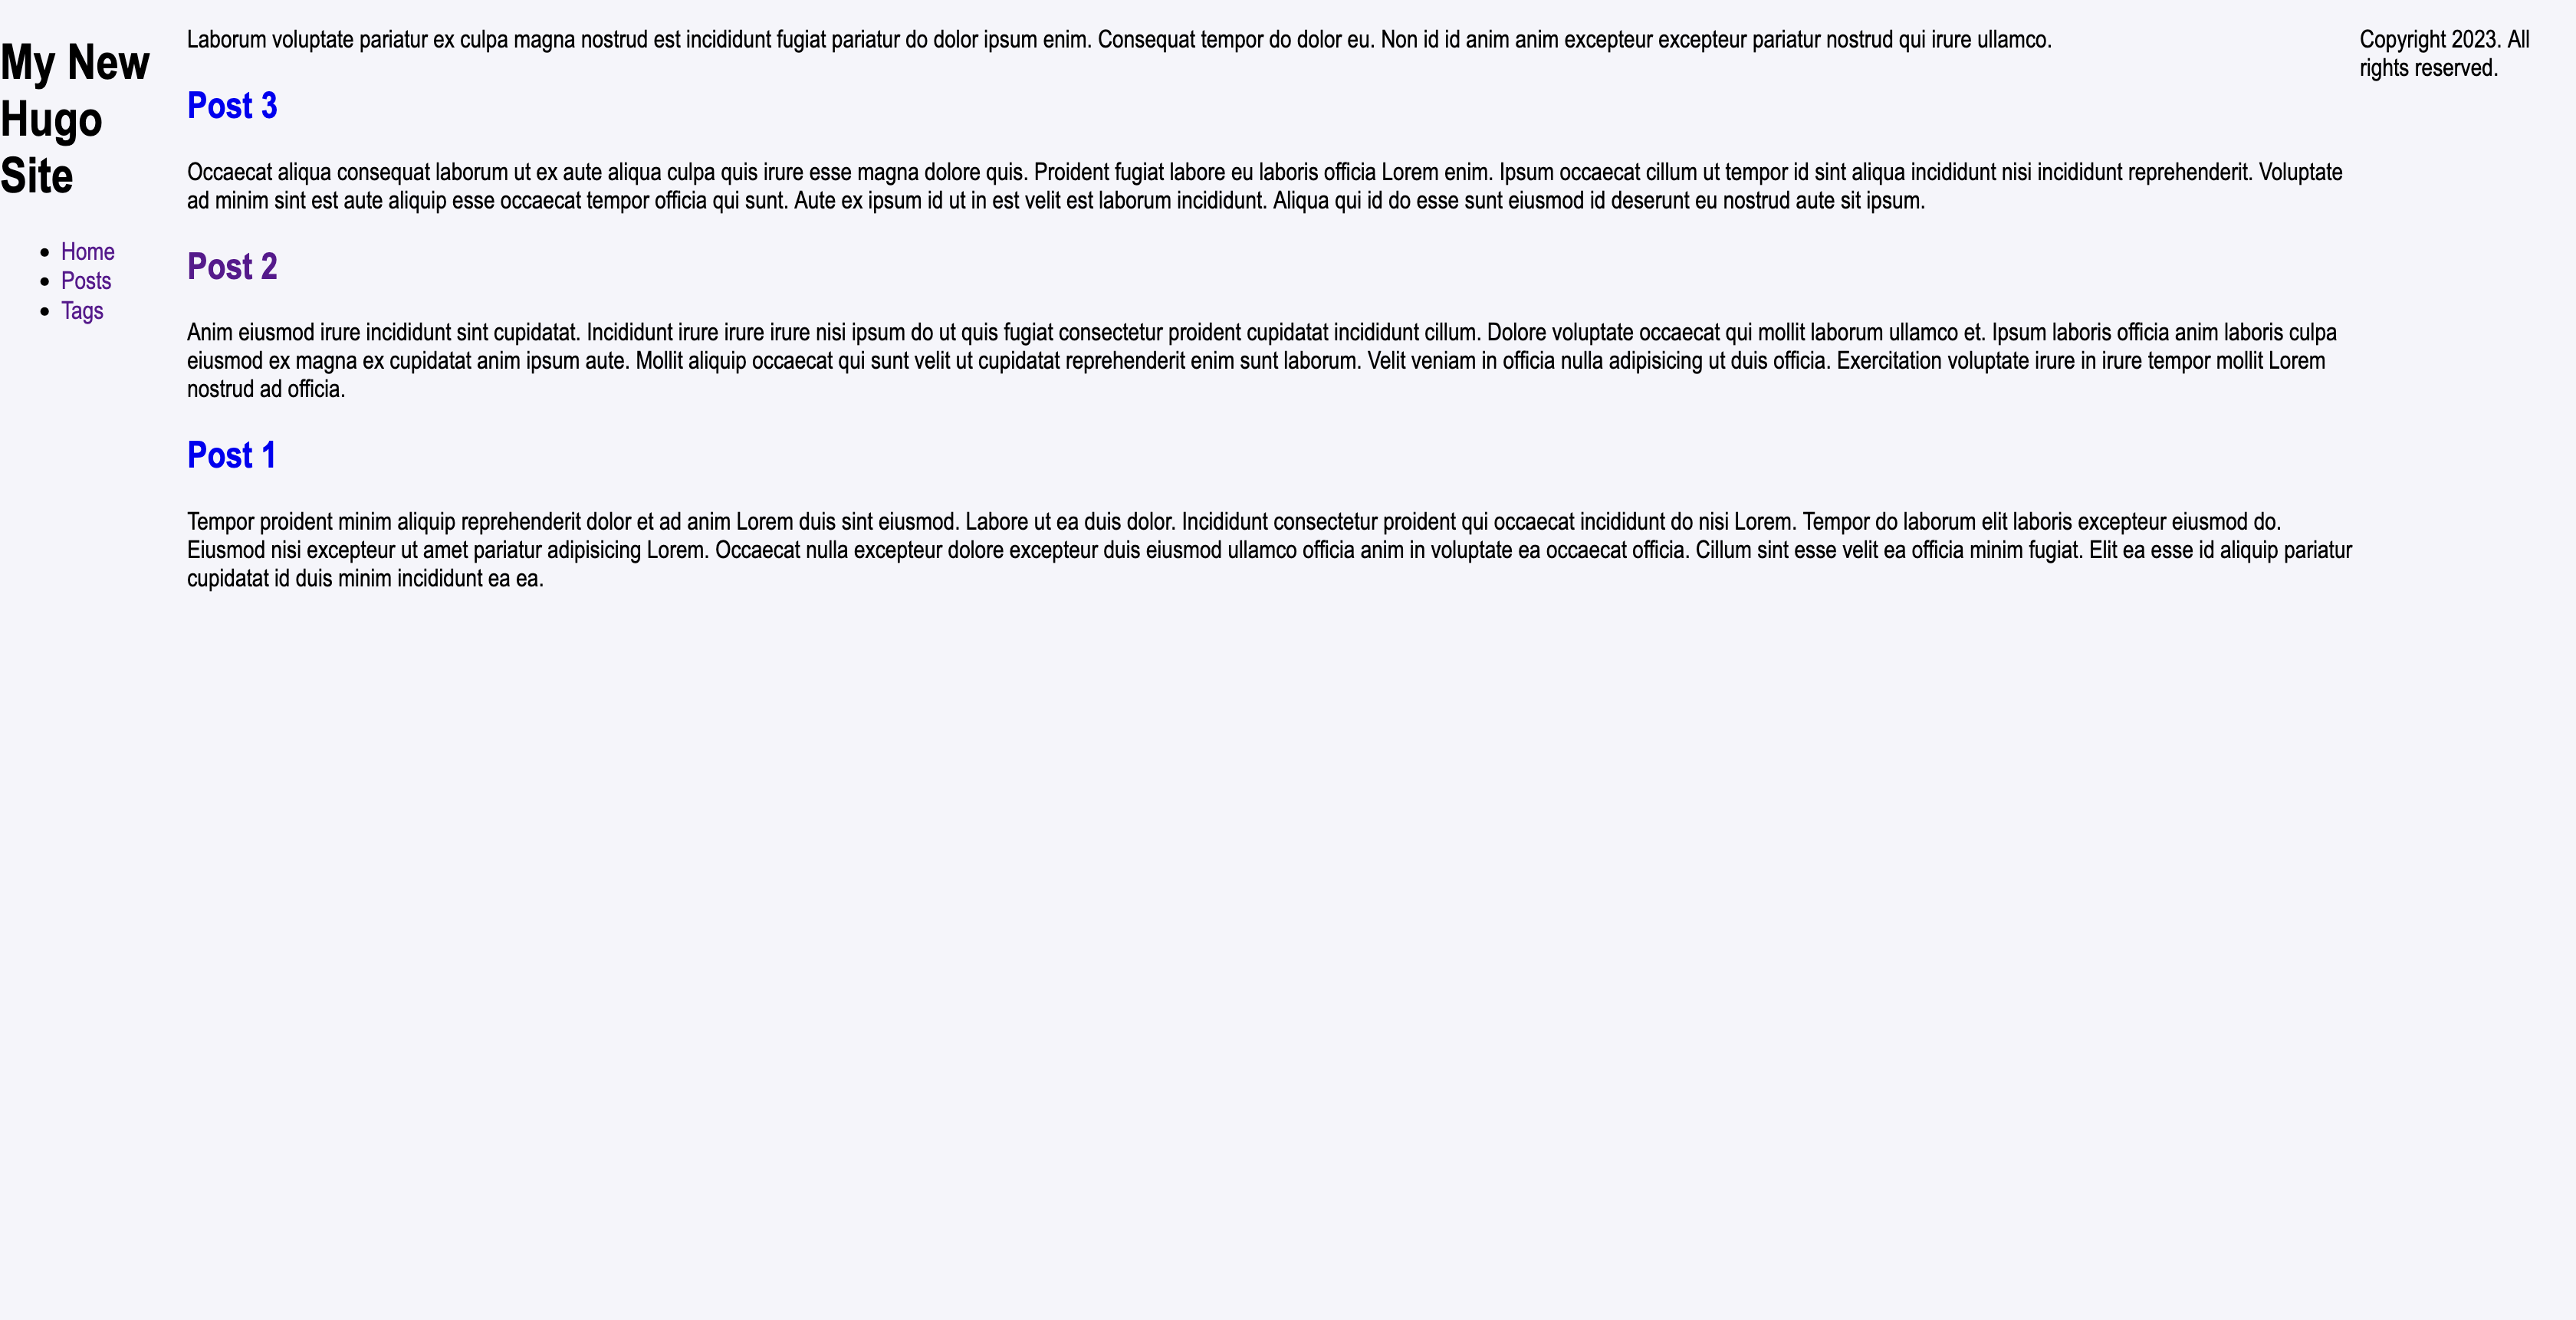
We will now wrap the site in the
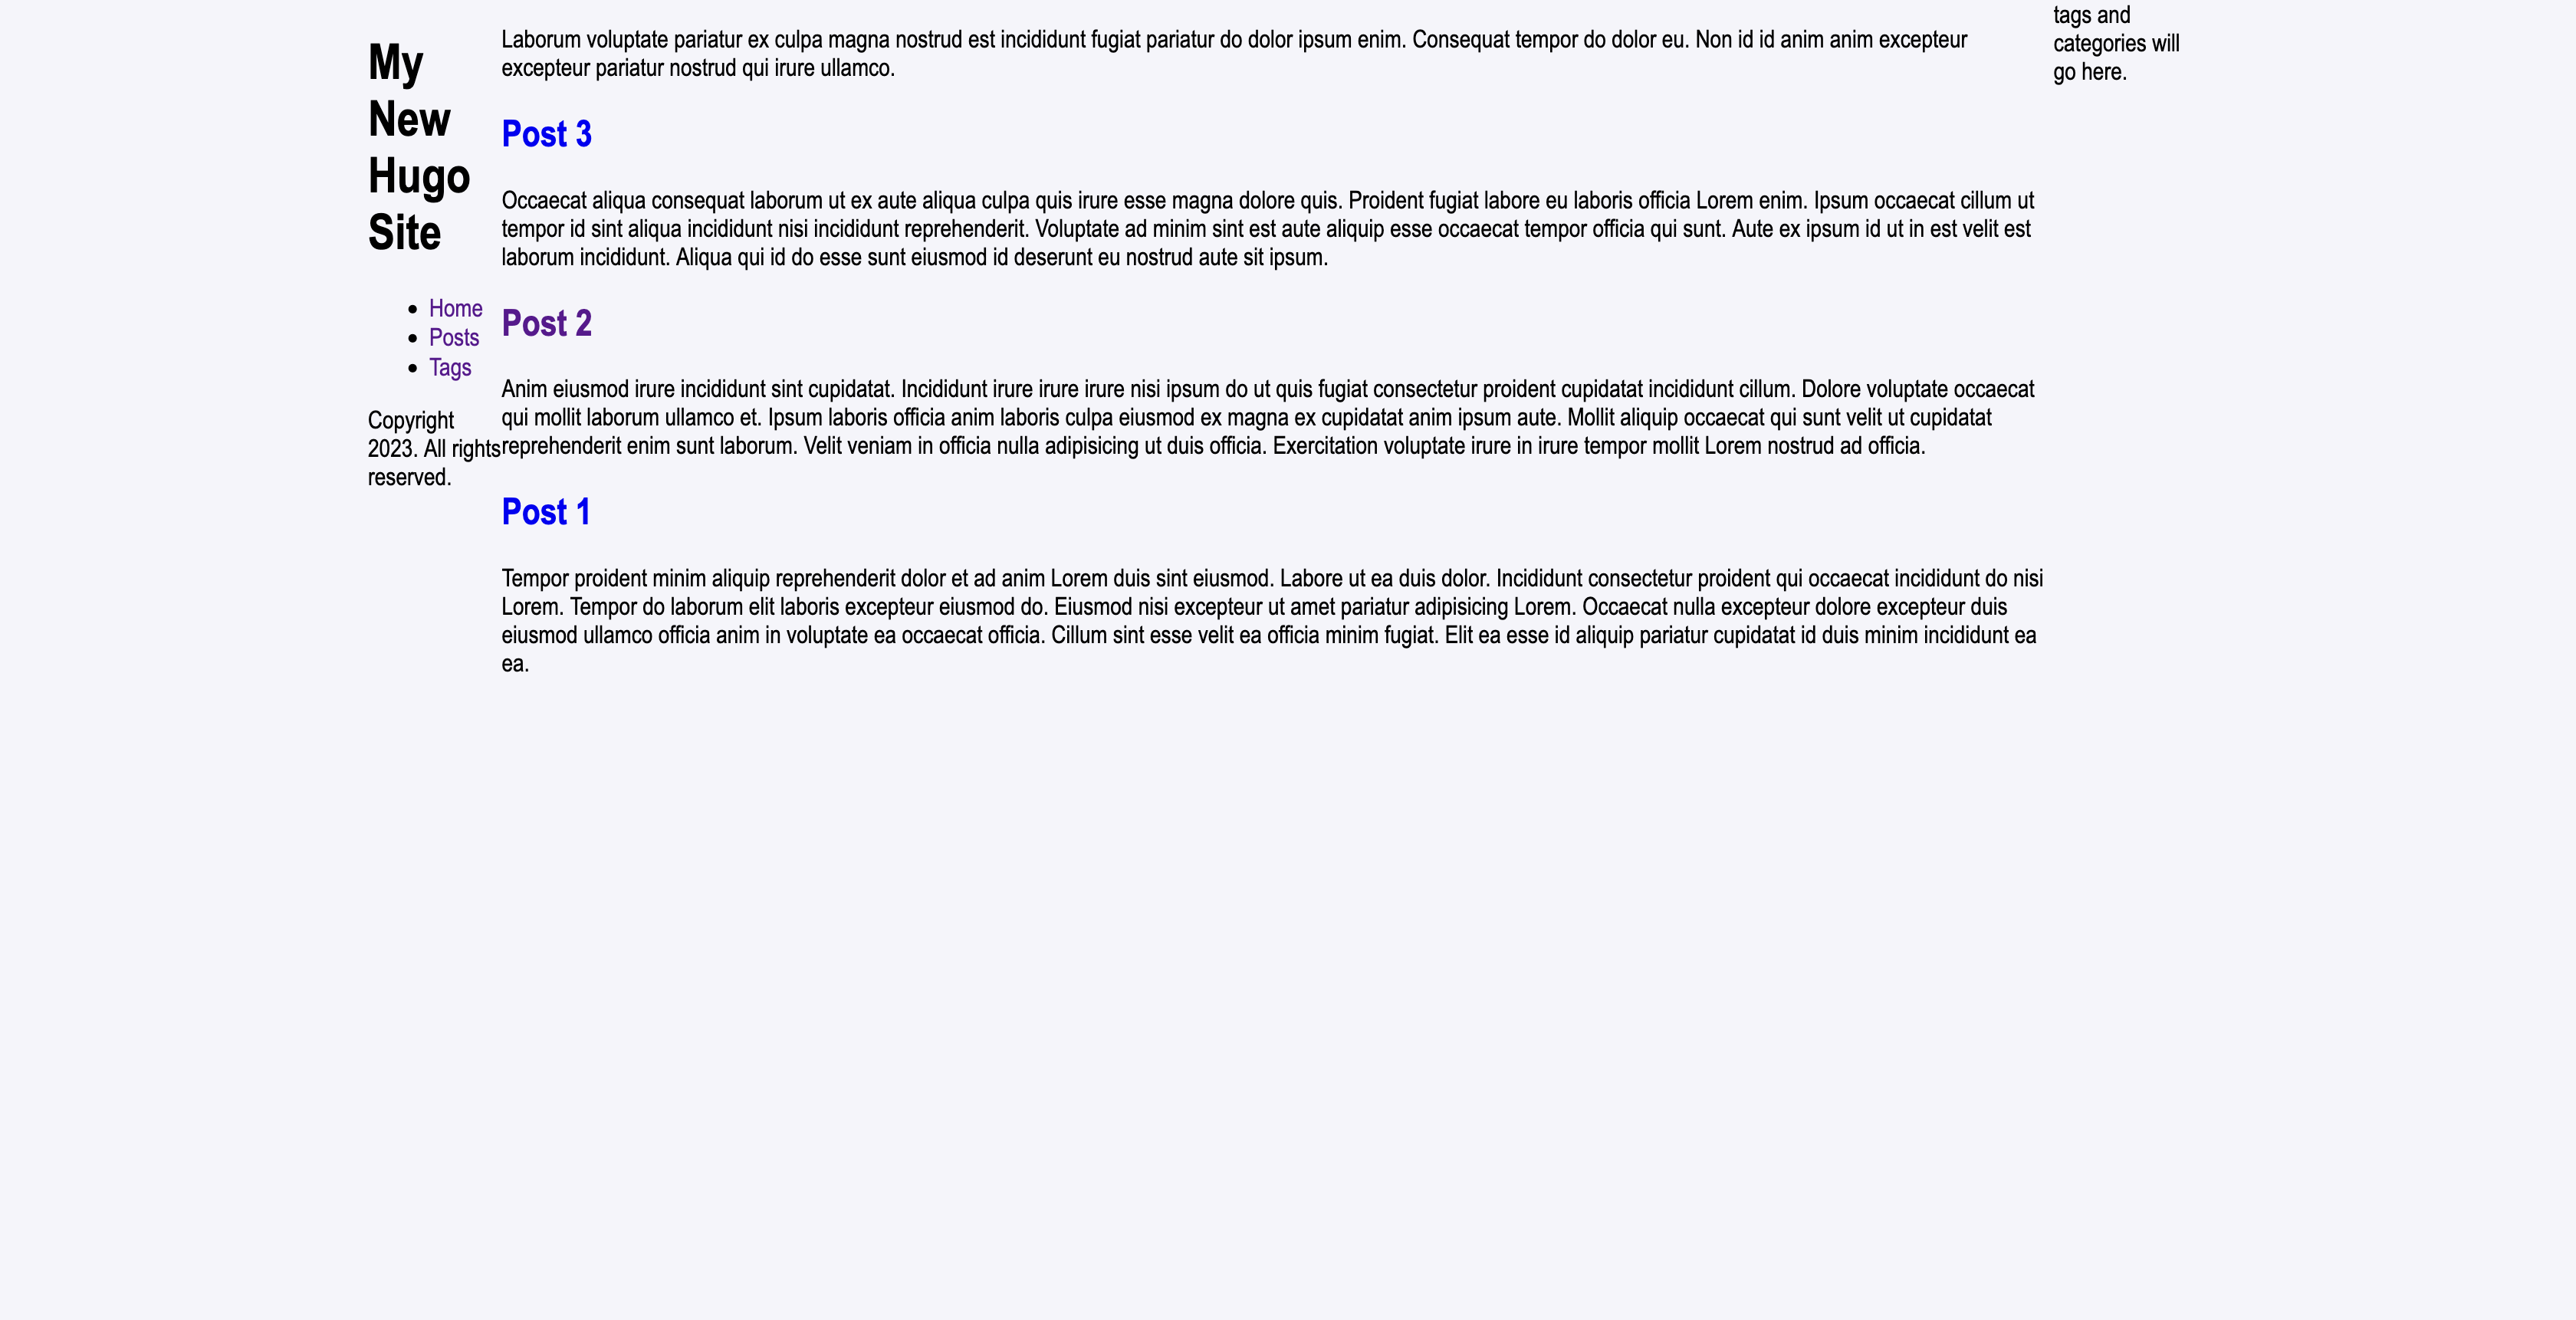
#contentid that we created in thecssfile to help limit the size of our content on wide screens. Open the_default/baseof.htmlfile and we will wrap all our content in a newdivgiving it the#contentid.I would like to also move the
footerinto the header and create a newasidethat will hold ourtag and categorysection.
the baseof.html will look like this
<!DOCTYPE html>
<html lang="{{ or site.Language.LanguageCode site.Language.Lang }}" dir="{{ or site.Language.LanguageDirection `ltr` }}">
<head>
  {{ partial "head.html" . }}
</head>
<body>
  <div id="container">
    <header>
      {{ partial "header.html" . }}

      <footer>
        {{ partial "footer.html" . }}
      </footer>

    </header>
    <main>
      {{ block "main" . }}{{ end }}
    </main>
    <aside>
      tags and categories will go here.
    </aside>
  </div>
</body>
</html>
Header
- Now we will work on the header. The idea will be to have a logo at the top, the site description, the navigation under that and lastly icon links to external sites and copyright (footer) at the bottom. It will be a five row layout with the navigation filling most of the space.
Logo and Description
add a logo.png file in the
staticfolder.in the themes
hugu.tomlfile add the following parameter
[params]
  description = 'This is a cool Site yay'
- Open the
partials/header.htmlfile and edit it to look as follows:
<div id="logo">
    <a href="index.html">
        <img src="{{ .Site.BaseURL | relLangURL }}logo.png" alt="logo" >
    </a>
</div>
<div id="description">
    <p>{{ .Site.Params.description }}</p>
</div>

{{ partial "menu.html" (dict "menuID" "main" "page" .) }}

<div id="ex-icons">
    <a href="{{ .Site.Params.github }}" target="_blank"><img src="{{ .Site.BaseURL | relLangURL }}github-logo.svg" /></a>
    <a href="{{ .Site.Params.patreon }}" target="_blank"><img src="{{ .Site.BaseURL | relLangURL }}patreon-logo.svg" /></a>
</div>
- Now we need to add the following styles to the
main.cssfile.
/* Header */

#logo {
  width: 100%;
  margin: 50px auto;
}

#logo img {
  margin: auto;
}

header #description p {
    font-size: 18px;
    color: var(--body-text-color);
    font-weight: lighter;
}

nav {
  flex-grow: 1;
}
Navigation
- Next We will work on the navigation. I want to add icon images to each main menu
category. To do so we can use the
preparameter in the[[menus.main]]sections in the themeshugo.tomlfile. Add the following parameters to each menu entry
[[menus.main]]
name = 'Home'
pre = '<div class="icon home-icon"></div>'
pageRef = '/'
weight = 10

[[menus.main]]
name = 'Posts'
pre = '<div class="icon posts-icon"></div>'
pageRef = '/posts'
weight = 20

[[menus.main]]
name = 'Tags'
pre = '<div class="icon tags-icon"></div>'
pageRef = '/tags'
weight = 30
Here is a quick explanation of what each parameter means: name: will be the title of menu pre: is html code that will be rendered with each menu item pageRef: is the path to the page when the link is clicked weight: is the position / order that the menu will be rendered in.
- Open the
partials/menu.htmlfile and add the following{{ .Pre }}just before the{{ $name }}. Your final file will look like this:
{{- /*
Renders a menu for the given menu ID.

@context {page} page The current page.
@context {string} menuID The menu ID.

@example: {{ partial "menu.html" (dict "menuID" "main" "page" .) }}
*/}}

{{- $page := .page }}
{{- $menuID := .menuID }}

{{- with index site.Menus $menuID }}
  <nav>
    <ul>
      {{- partial "inline/menu/walk.html" (dict "page" $page "menuEntries" .) }}
    </ul>
  </nav>
{{- end }}

{{- define "partials/inline/menu/walk.html" }}
  {{- $page := .page }}
  {{- range .menuEntries }}
    {{- $attrs := dict "href" .URL }}
    {{- if $page.IsMenuCurrent .Menu . }}
      {{- $attrs = merge $attrs (dict "class" "active" "aria-current" "page") }}
    {{- else if $page.HasMenuCurrent .Menu .}}
      {{- $attrs = merge $attrs (dict "class" "ancestor" "aria-current" "true") }}
    {{- end }}
    {{- $name := .Name }}
    {{- with .Identifier }}
      {{- with T . }}
        {{- $name = . }}
      {{- end }}
    {{- end }}
    <li>
      <a
        {{- range $k, $v := $attrs }}
          {{- with $v }}
            {{- printf " %s=%q" $k $v | safeHTMLAttr }}
          {{- end }}
        {{- end -}}
      >
      {{ .Pre }}
      {{ $name }}
    </a>
      {{- with .Children }}
        <ul>
          {{- partial "inline/menu/walk.html" (dict "page" $page "menuEntries" .) }}
        </ul>
      {{- end }}
    </li>
  {{- end }}
{{- end }}
Add the navigation icon files in the
staticfolder.Now we need to add the following styles to the
main.cssfile.
/* Navigation */

nav ul {
  padding: 0;
}
nav li{
  list-style:none;
  margin-top: 20px;
}
nav li a{
  color: var(--body-text-color);
  display: flex;
  flex-direction: row;
}
nav li a.active {
  color: var(--main-text-colour);
}
nav li a.active .icon {
  opacity: 100%;
}
nav li a:hover {
  color: var(--main-text-colour);
}
nav li a:hover .icon {
  opacity: 100%;
}

.icon {
  height: 15px;
  width: 15px;
  background-size: cover;
  margin-right: 10px;
  opacity: 50%;
}

.home-icon {
  background-image: url("../home.svg");
}

.posts-icon {
  background-image: url("../posts.svg");
}

.tags-icon {
  background-image: url("../tags.svg");
}
External links and Footer
Add your social media icons to the
staticfolder. In this guide I will only be using Github and Patreon as I don’t have any social media accounts.in the themes
hugo.tomlfile add the following parameter
  github = 'https://github.com/Jono-Moss'
  patreon = 'https://www.patreon.com/'
This will be used to store the links of where the icons will goto.
- Now we need to add the following styles to the
main.cssfile.
/* External Links Icons */
#ex-icons {
  height: 25px;
  display: flex;
  flex-direction: row;
  margin-bottom: 5px;
}

#ex-icons a {
  margin-right: 5px;
}

#ex-icons img {
  height: 25px;
  width: auto;
}

footer {
  color: var(--body-text-color);
}
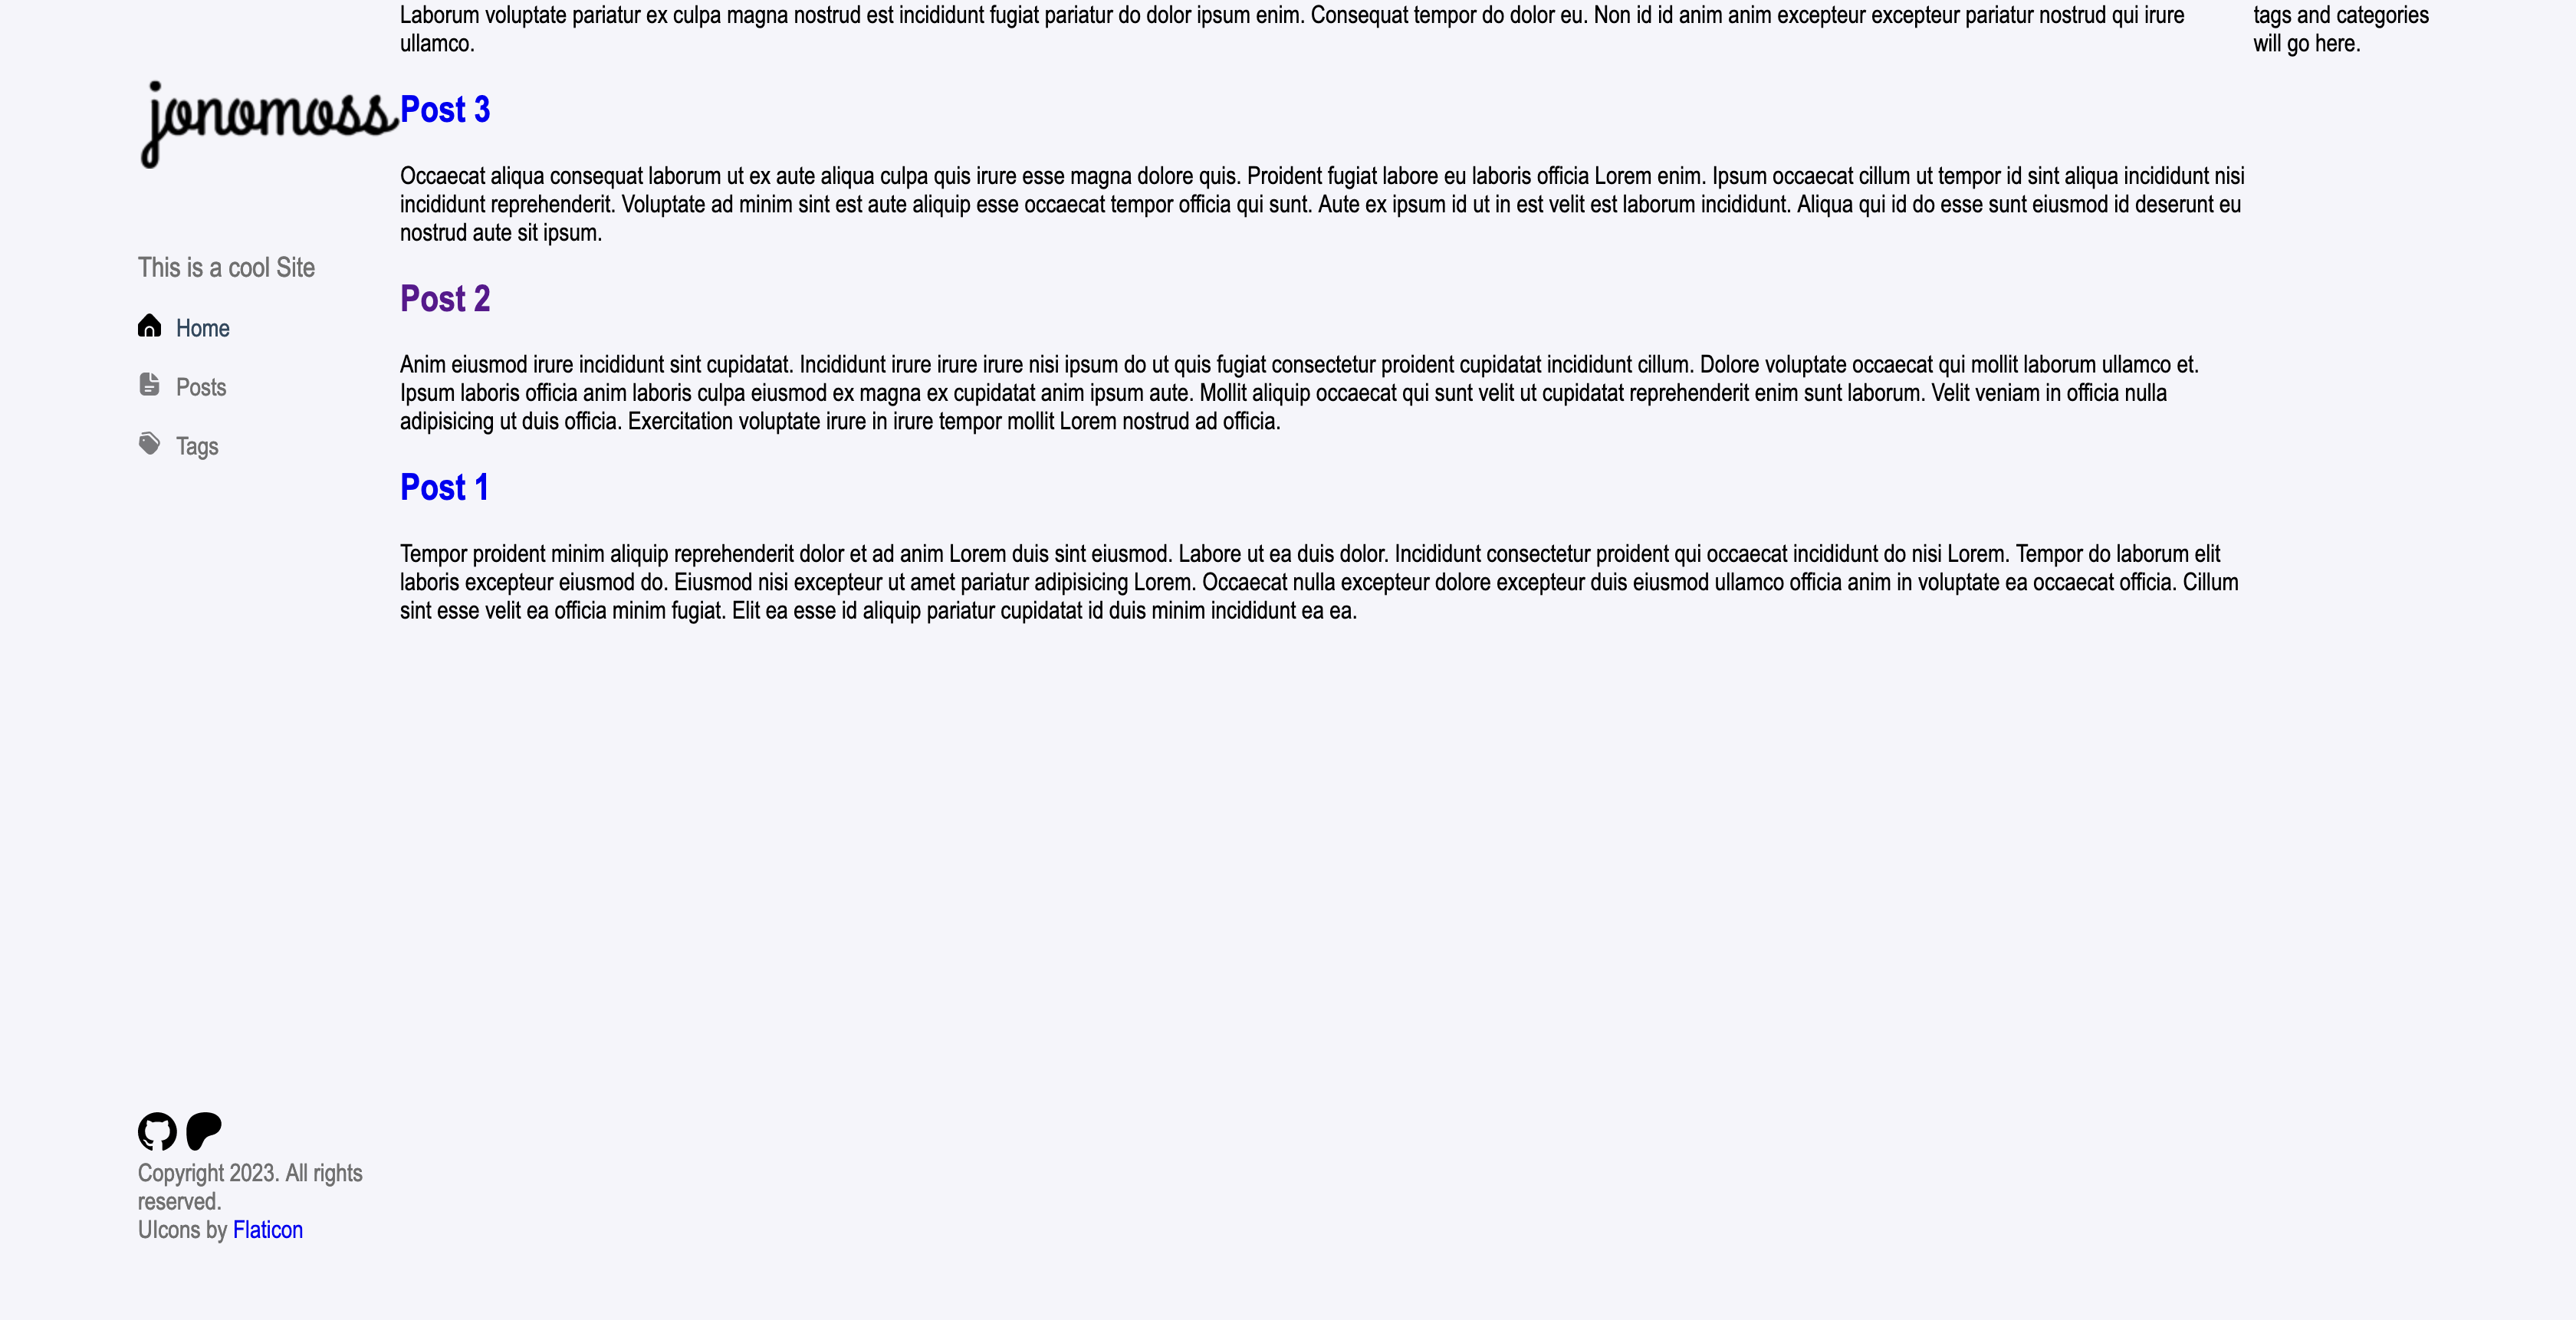
16.The final header / sidebar will look like this
Home / Posts Content
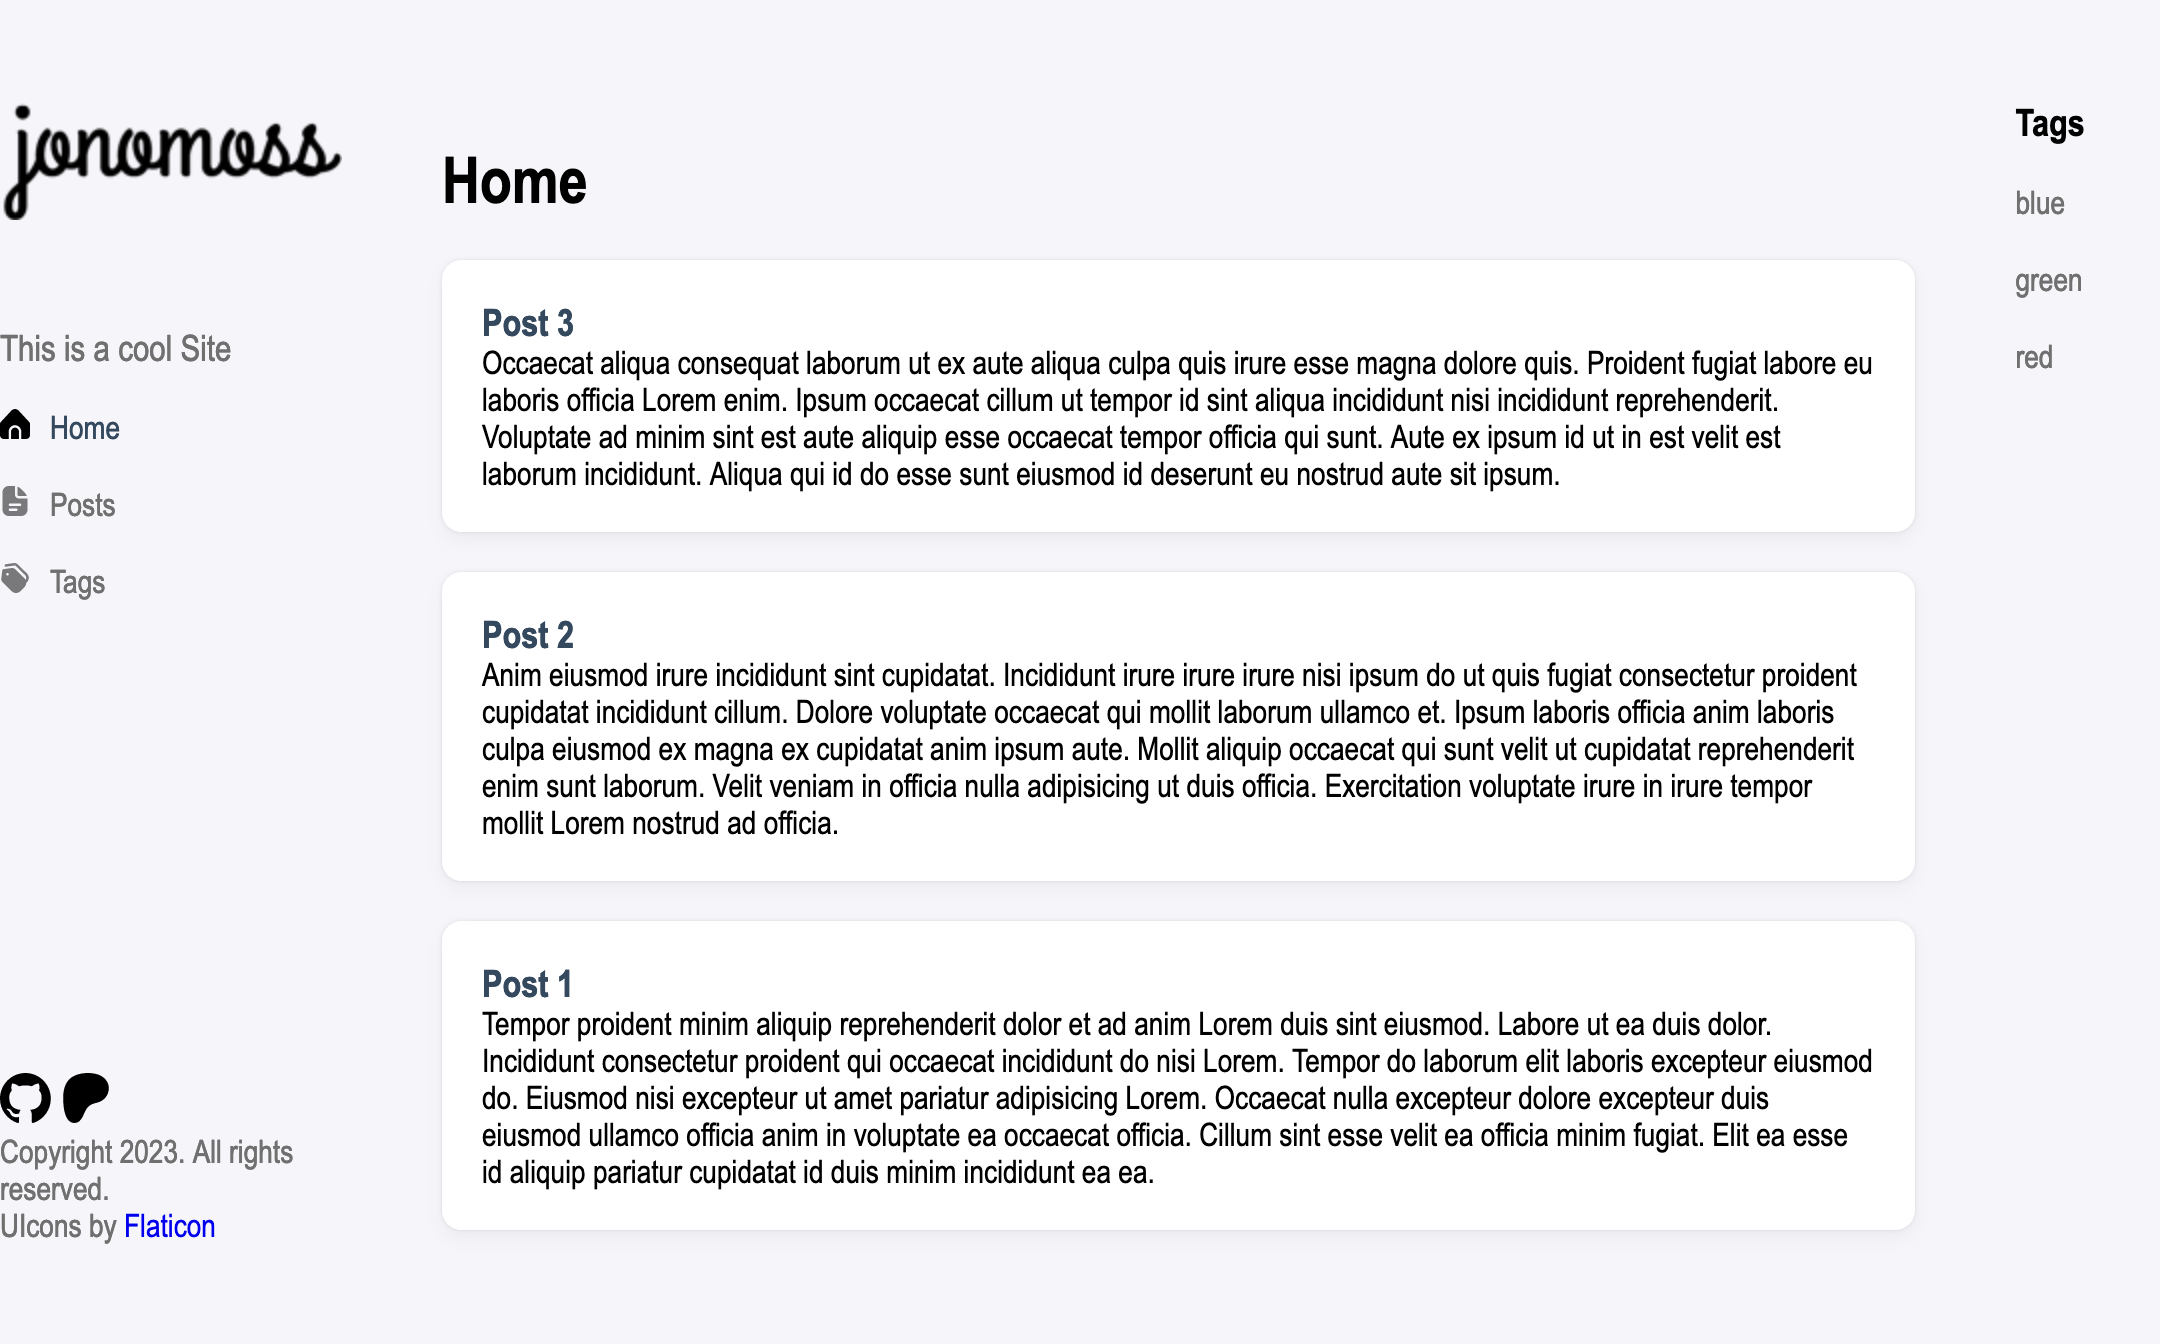
- We will now wrap the posts in a
.card-wrapperclass that we will use to style each post on thehome.htmlpage. Open the_default/home.htmlfile and we will wrap all our content in a newdivgiving it the.card-wrapperclass. Thehome.htmlfile will look as follows:
{{ define "main" }}
  {{ .Content }}
  {{ range site.RegularPages }}
    <div class="card-wrapper">
    <h3>
      <a href="{{ .RelPermalink }}">{{ .LinkTitle }}</a>
    </h3>
    {{ .Summary }}
    </div>
  {{ end }}
{{ end }}
- Next we will take a look and edit the content of the home page. Open the
content\_index.mdfile. This is where your static content of your home page is stored. For this guide, we will remove all the text in the file and just add a “Home” header. Your file will look like this:
+++
title = 'Home'
date = 2023-01-01T08:00:00-07:00
draft = false
+++

# home
- When opening a post, the
_default\single.htmlfile is responsible for the layout. I Will only wrap the post in acard-wrapperclass div so that it will match the posts on the home screen.
{{ define "main" }}
<div class="card-wrapper">
<h1>{{ .Title }}</h1>

  {{ $dateMachine := .Date | time.Format "2006-01-02T15:04:05-07:00" }}
  {{ $dateHuman := .Date | time.Format ":date_long" }}
  <time datetime="{{ $dateMachine }}">{{ $dateHuman }}</time>

  {{ .Content }}
  {{ partial "terms.html" (dict "taxonomy" "tags" "page" .) }}
</div>
{{ end }}
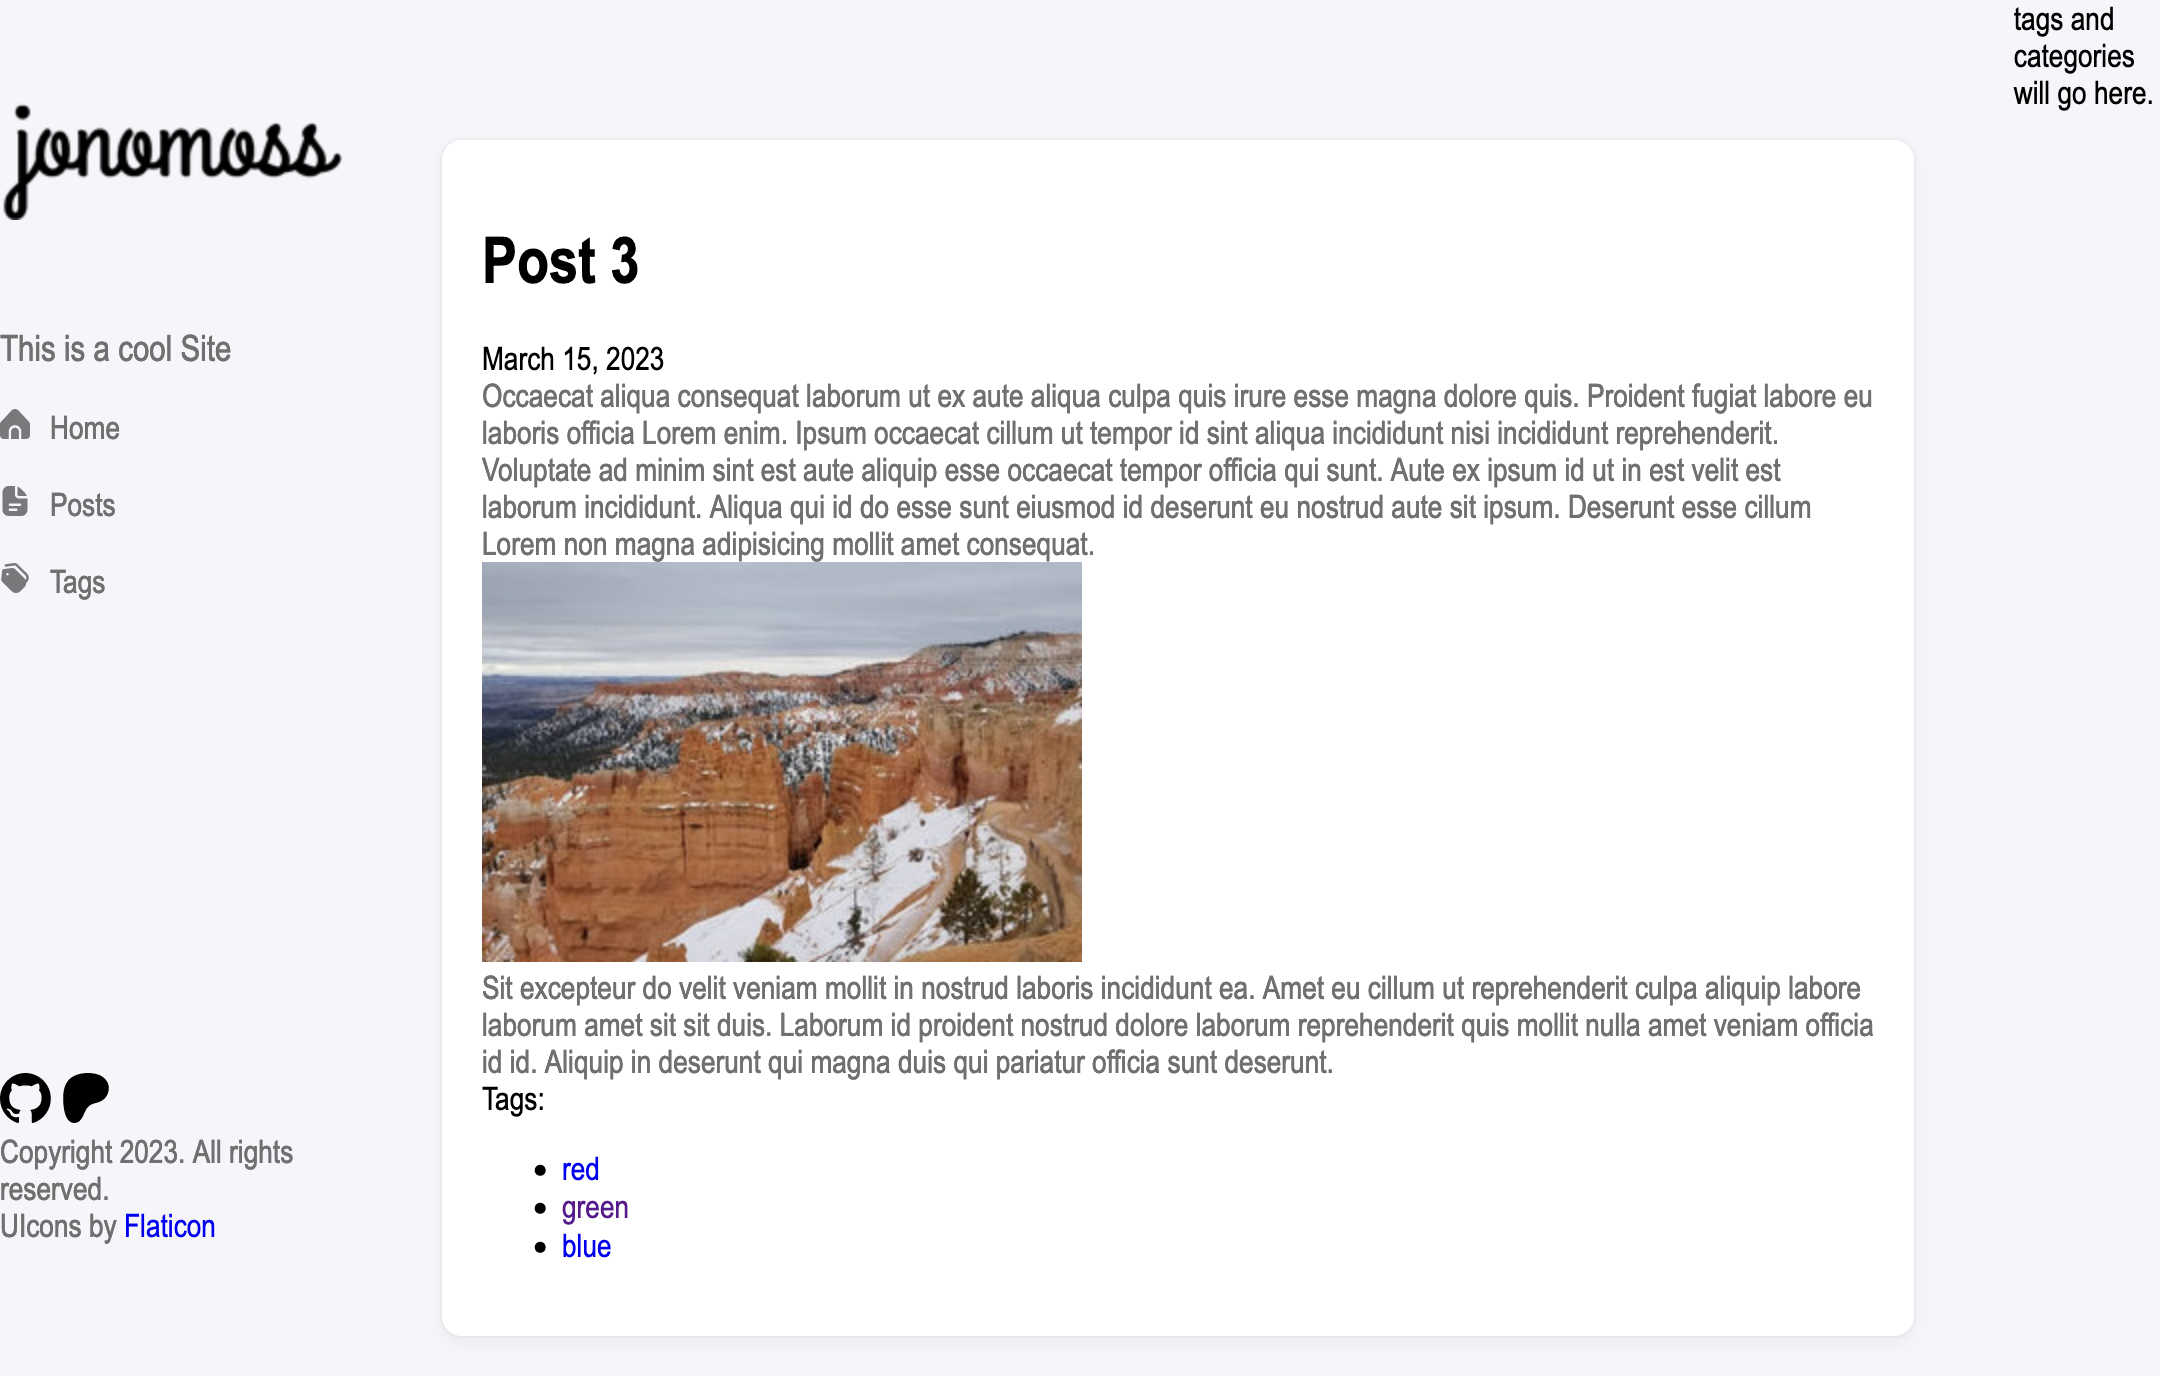
- A post will look like this:
Tags and Category Sidebar
I would like to create a new html file that will be the driver for our “Tags and Categories” side bar. Create a new
aside.htmlfile ine thepartialsfolder.Now open open the
_default/baseof.htmlfile and add the following to include the newaside.htmlto it. The_default/baseof.htmlfile will look as follows:
<!DOCTYPE html>
<html lang="{{ or site.Language.LanguageCode site.Language.Lang }}" dir="{{ or site.Language.LanguageDirection `ltr` }}">
<head>
  {{ partial "head.html" . }}
</head>
<body>
  <div id="container">
    <header>
      {{ partial "header.html" . }}

      <footer>
        {{ partial "footer.html" . }}
      </footer>

    </header>
    <main>
      {{ block "main" . }}{{ end }}
    </main>
    <aside>
      {{ partial "aside.html" . }}
    </aside>
  </div>
</body>
</html>
- We will now edit the
aside.htmlfile to display the categories and the Tags:
<h3>Tags</h3>
<ul id="all-tags">
    {{ range $name, $taxonomy := .Site.Taxonomies.tags }}
      <li><a href="/tags/{{ $name | urlize }}">{{ $name }}</a></li>
    {{ end }}
  </ul>
- And
css
/* Aside bar */

#all-tags {
  padding: 0;
}
#all-tags li{
  list-style:none;
  margin-top: 20px;
}
#all-tags li a{
  color: var(--body-text-color);
  display: flex;
  flex-direction: row;
}
A side bar will look like this:
In order to add the “Categories” and a “Search” function a lot more things need to be added to the template in order to get it to work. So for now I am happy with my quick look at how the layout of a Hugo theme works.
Set Syntax Highlighting Theme
- To set the colour scheme of the syntax highlighting that hugo and go will use. Add the following to your
hugo.tomlfile. Ps I like the “Autumn” colour scheme, you can see all available themes at: https://xyproto.github.io/splash/docs/
[markup]
  [markup.goldmark]
    unsafe = true
  [markup.tableOfContents]
    endLevel = 4
    ordered = true
    startLevel = 2
  [markup.highlight]
    anchorLineNos = false
    codeFences = true
    guessSyntax = false
    hl_Lines = ''
    hl_inline = false
    lineAnchors = ''
    lineNoStart = 1
    lineNos = false
    lineNumbersInTable = true
    noClasses = true
    noHl = false
    style = 'autumn'
    tabWidth = 4
If you would like to use your own css styles, change the noClasses = true to noClasses = false.
Then use the following command:
hugo gen chromastyles --style=monokai > syntax.css
To generate the css file you will need to start creating your own style.
see the following link for more information. https://gohugo.io/content-management/syntax-highlighting/#generate-syntax-highlighter-css
Security
Lastly and before I forget, I want to create an
.htaccessfile to restrict access to subfolder on the site when it is live.create an
.htaccessfile in thestaticfolder and add the following to it:
DirectoryIndex index.html
RewriteEngine On

# disable directory browsing
Options All -Indexes

#force https
RewriteEngine On
RewriteCond %{HTTPS} off
RewriteRule (.*) https://%{HTTP_HOST}%{REQUEST_URI} [L,R=301]